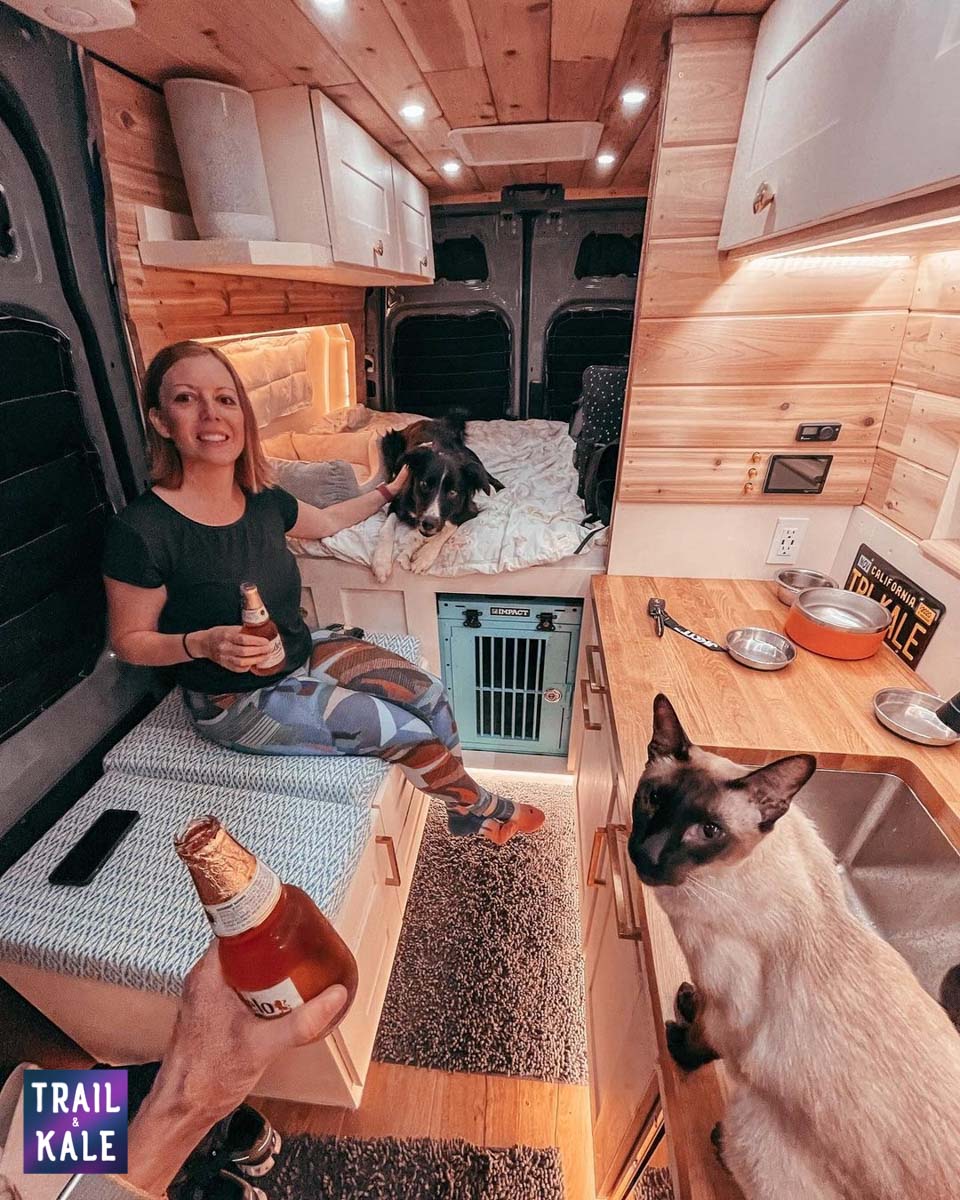
In this DIY Sprinter van conversion update we give you a tour of some of the recent additions to the van build, including our custom overhead cabinets, the campervan’s hidden toilet, and a secret door to the van’s garage area, for reasons I’ll explain below.
We have fully road-tested the van build to date – by driving it thousands of miles across the United States of America, from West Coast to Florida and back again since our last DIY van build update in part 6, and are so happy with how solid the van build has been. It was a fun few weeks – especially as we were traveling in our van with our dog and two cats – more on that in a future post!
This DIY Sprinter van build series is a high level update on what it’s like to custom build your own DIY Sprinter van conversion with no prior experience. In future YouTube videos we’ll be adding more specific videos on each of the key features of our van build, including the materials we used, how it all works and how we designed each stage of the build.
Watch our DIY Sprinter Van Build Video Update – Part 7
Looking for other posts in our luxury custom DIY Sprinter Van build series? Click the button below to see all van build and van life posts:
Designing, measuring and building DIY overhead wall cabinets for our Sprinter campervan
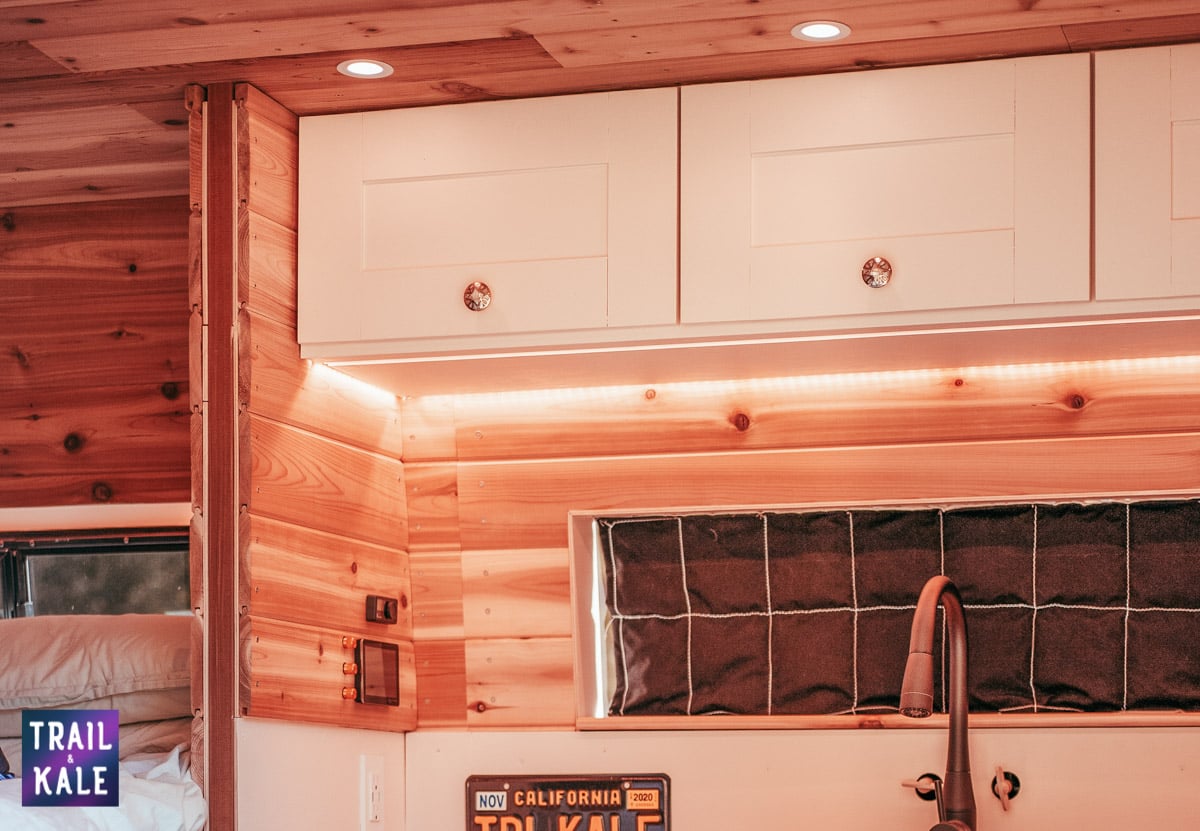
The overhead wall cabinets in our van were one of the more challenging aspects of the build, as you want them to be solid, spacious and yet lightweight, as they, plus everything they contain, will be attached to the van’s walls and ceiling.
If you hadn’t noticed, a Sprinter van’s walls and ceiling are not straight, and they curve at different angles as you move through the van from front to back, so it’s a real challenge to create overhead cabinets that will fit perfectly against both the wall and the ceiling at the same time.
Related Reading:


Our van’s overhead cabinets are made from a solid frame of 1x4s together with some birch plywood for the rhomboid shapes at either end of the cabinets, which are all attached using pocket holes and screws, and complemented with baltic birch plywood for the base and fascia. The fascia is 1/8 inch (3mm) plywood that is nailed in to cover the wood joints.
By using the 1×4 and thinner ply wood rather than making the overhead cabinets 100% out of the 3/4 inch plywood you see in other overhead cabinet builds, we’ve saved some weight and we’re pleased with how they’ve turned out, even if it took a while to engineer them!
Building custom shaker cabinet doors for our DIY van build

In this video update our van has all its cabinet doors made, painted and installed with brass handles for the base units and brass-pearl knobs for the overhead cabinets. We made the doors using 1x4s, routed out a groove on the inside edge of the 1x4s, and baltic birch plywood for the center panels.
The thing about building your own customer DIY Sprinter van conversion is that everything is, by definition, unique. This includes all the measurements and angles used to make the campervan’s cabinets and doors – and in the small, moveable space you’re working with, you need to get the measurements as perfect as possible in order for everything to fit and install correctly and not cause issues with squeaking, parts coming loose or rubbing once you’ve driven several thousand miles down the road in your van.
Related Reading:


For this reason we took a long time to get our cabinet doors perfectly measured so that they would fit together when we assembled the frames and plywood panels, as well as alongside each other so that the gaps between the cabinet doors are equal across the entire kitchen galley area and overhead cabinets.
All of the shaker overhead cabinet doors are on soft-close hinges, and they’ll be held open with struts and secured with magnetic closures when the van build is complete.
Hiding our composting toilet in our van’s seating area

A toilet in our campervan was a must-have, and we particularly wanted to go with a composting toilet over a standard chemical porta-potty. Composting toilets have several advantages over porta potties, in particularly that they don’t smell or use any of those toilet chemicals you associate with portaloos, which we definitely didn’t want in our van.
Composting toilets do, however, tend to be taller than chemical toilets and so we planned our van’s seating area around the location and space needed to install our composting toilet. The result was a chaise-longue seating area that houses the toilet and an additional storage area next to it by the sliding door.
We’ll cover more on the toilet installation in a future video (subscribe to our YouTube channel to get notified of future videos when they’re released).
Our Sprinter Campervan’s secret door!
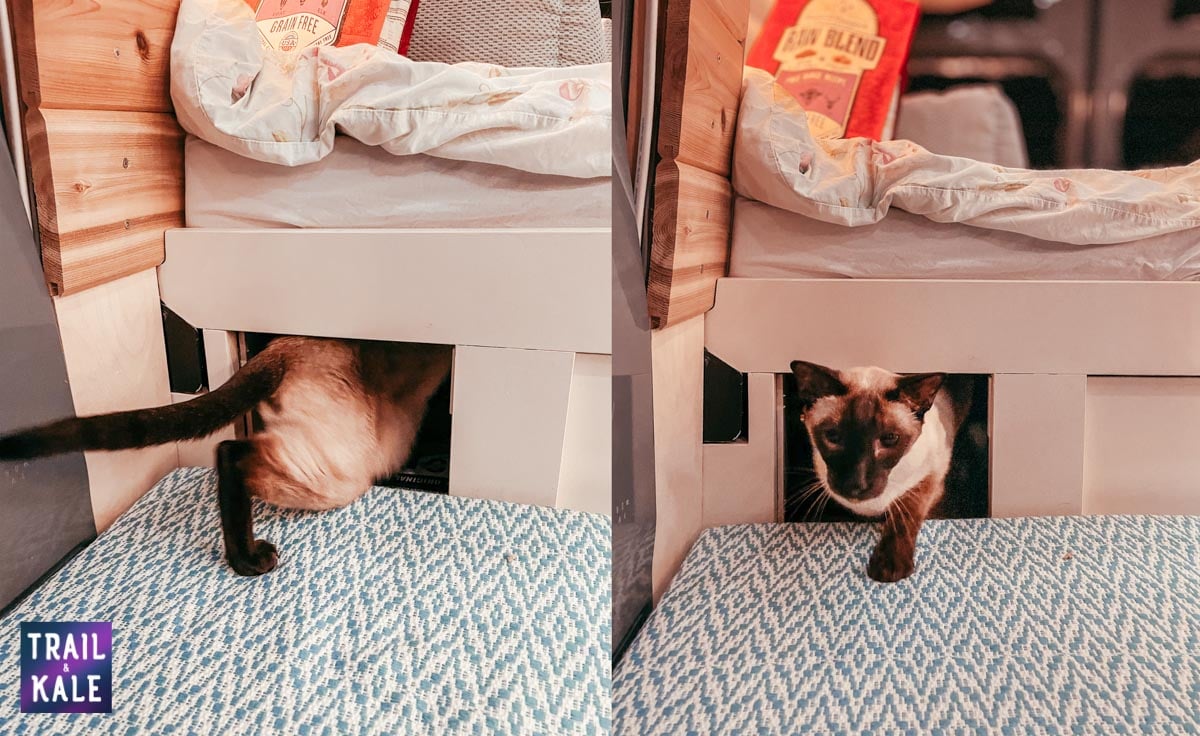
Have we mentioned that we travel in our van with our dog and two Siamese cats? Well, the other kind of toilet nobody wants to see, hear or smell is the cat’s one, which lives under the bed in our van’s garage area. We built in a secret door into our van which is the perfect height for them, so that they can enter the garage to do their business. It also allows us to carry long powder skis that won’t fit entirely under the bed, so they can extend out through the cats’ secret door when needed.
DIY Sprinter Van Build Series on YouTube
To watch the whole DIY van build series and subscribe to our YouTube Channel for more videos, click the button below to head over to our van build playlist:
Van Conversion Part 7 Gallery